Our Android Application, 100K+ Downloads Download
Close ads ->
Close ads ->
-->

Random Posts

Follow US

Make A PopUp Window On Any Android Applications

PopUp Window For Android Applications
Share it:
pop-up-window-android-studio

In this tutorial, we show you how to create a custom dialog in Android. See following steps :
Create a custom dialog layout (XML file).
Attach the layout to Dialog.
Display the Dialog.
Done.
This project is developed in Android Studio and tested with Android 2.3.3.

Android Layout Files

Two XML files, one for main screen, one for custom dialog.

File : res/layout/main.xml
<?xml version="1.0" encoding="utf-8"?>
<LinearLayout xmlns:android="http://schemas.android.com/apk/res/android"
android:layout_width="fill_parent"
android:layout_height="fill_parent"
android:orientation="vertical" >
<Button
android:id="@+id/buttonShowCustomDialog"
android:layout_width="wrap_content"
android:layout_height="wrap_content"
android:text="Show Custom Dialog" />
</LinearLayout>
view raw main.xml hosted with ❤ by GitHub
File : res/layout/custom.xml
<?xml version="1.0" encoding="utf-8"?>
<RelativeLayout xmlns:android="http://schemas.android.com/apk/res/android"
android:layout_width="fill_parent"
android:layout_height="fill_parent" >
<ImageView
android:id="@+id/image"
android:layout_width="wrap_content"
android:layout_height="wrap_content"
android:layout_marginRight="5dp" />
<TextView
android:id="@+id/text"
android:layout_width="fill_parent"
android:layout_height="wrap_content"
android:textColor="#FFF"
android:layout_toRightOf="@+id/image"/>/>
<Button
android:id="@+id/dialogButtonOK"
android:layout_width="100px"
android:layout_height="wrap_content"
android:text=" Ok "
android:layout_marginTop="5dp"
android:layout_marginRight="5dp"
android:layout_below="@+id/image"
/>
</RelativeLayout>
view raw custom.xml hosted with ❤ by GitHub
2. Activity

Read the comment and demo in next step, it should be self-explorary.

File : MainActivity.java
package com.appname.app;
import android.app.Activity;
import android.app.Dialog;
import android.content.Context;
import android.os.Bundle;
import android.view.View;
import android.view.View.OnClickListener;
import android.widget.Button;
import android.widget.ImageView;
import android.widget.TextView;
public class MainActivity extends Activity {
final Context context = this;
private Button button;
public void onCreate(Bundle savedInstanceState) {
super.onCreate(savedInstanceState);
setContentView(R.layout.main);
button = (Button) findViewById(R.id.buttonShowCustomDialog);
// add button listener
button.setOnClickListener(new OnClickListener() {
@Override
public void onClick(View arg0) {
// custom dialog
final Dialog dialog = new Dialog(context);
dialog.setContentView(R.layout.custom);
dialog.setTitle("Title...");
// set the custom dialog components - text, image and button
TextView text = (TextView) dialog.findViewById(R.id.text);
text.setText("Android custom dialog example!");
ImageView image = (ImageView) dialog.findViewById(R.id.image);
image.setImageResource(R.drawable.ic_launcher);
Button dialogButton = (Button) dialog.findViewById(R.id.dialogButtonOK);
// if button is clicked, close the custom dialog
dialogButton.setOnClickListener(new OnClickListener() {
@Override
public void onClick(View v) {
dialog.dismiss();
}
});
dialog.show();
}
});
}
}
3. Demo

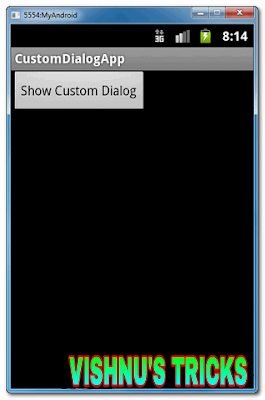
Start it, the “main.xml” layout is display.


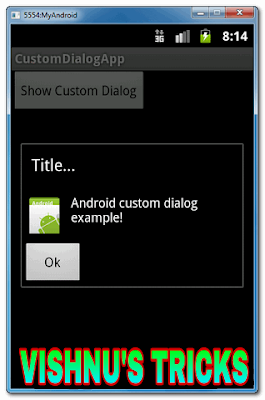
Click on the button, display custom dialog “custom.xml” layout, if you click on the “OK” button, dialog box will be closed.


Downloads :
Share it:

Vishnu Sivadas

ANDROID STUDIO

Post A Comment:

0 comments:

Also Read

HTML Lesson Five - Attributes

So we have learned few basics about HTML, in this lesson we will be learning about attributes and how to align then,

Unknown